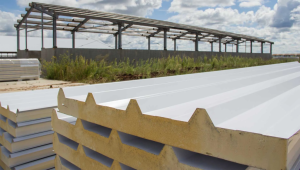
Sandwich panels, thanks to their versatility and ease of installation, are increasingly used in the construction industry. However, to ensure their proper performance and longevity, it is important that installation is carried out in accordance with the manufacturer's recommendations and best practice. Here is a detailed step-by-step guide to help you install sandwich panels correctly.

1. Preparation of the Substrate
a. Stability and Evenness Check:
- Ensure that the substrate on which the sandwich panels are to be installed is stable, level and free from contamination. Unevenness can lead to installation problems and affect the insulation properties.
b. Moisture Protection:
- When installing on surfaces that may be exposed to moisture, use a suitable membrane or damp proofing to protect the sandwich panels from water.
2. Preparation of the Sandwich Panels
a. Verification of Material:
- Before installation, check that the sandwich panels are as ordered and that they have no visible damage. Ensure that they are suitable for the intended use.
b. Preparation of Necessary Tools:
- Gather all the tools you need, such as a screwdriver, spirit level, slab saw, tape measure, and safety equipment (gloves, goggles).
3. installation of the sandwich panels
a. Layout and Initial Fit:
- Lay out the layout of the sandwich panels, starting with the corners and points that will be visible. Prepare the panels for installation, matching the dimensions and layout.
b. Installation of Plates:
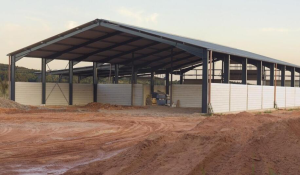
- For the Elevation: Start the installation from the bottom edge of the wall, making sure the panels are horizontal and well aligned. Install the panels using the appropriate screws and anchors as recommended by the manufacturer.
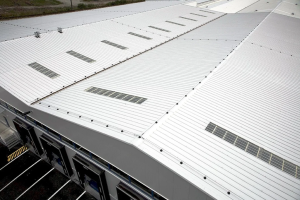
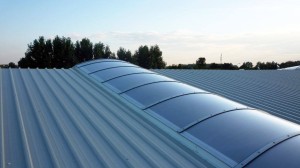
- For Roofs: Installing the panels on the roof requires special attention. Start at the bottom edge and continue towards the top of the roof to avoid water collecting under the panels.
c. Equality Check:
- Check the spirit levels regularly to ensure that the boards are installed evenly and there are no deviations. Any unevenness can affect the insulation and aesthetics.
4. Sealing and Finishing
a. Sealing of Connections:
- Use suitable sealants and materials to secure the joints between the boards and where the boards come into contact with other building elements (e.g. windows, doors). This provides additional protection against moisture and improves insulation.
b. Edge Finishing:
- Fit trims or corners to protect the edges of the boards and improve aesthetics. Make sure all trim pieces are securely fastened and there is no play.

5. Quality Control and Testing
a. Final Inspection:
- Make a final inspection of the fitted panels, checking that they are all securely fixed, evenly seated and that there is no damage. Also check the tightness of the seals.
b. Isolation Testing:
- If possible, carry out tests to ensure that the sandwich panels provide adequate thermal and acoustic insulation. It is worth checking that there are no thermal bridges or leaks.
6. Maintenance and upkeep
a. Regular Inspections:
- Check the condition of the sandwich panels regularly, especially in areas exposed to the weather. If necessary, carry out minor repairs or replacements of damaged components.
b. Cleaning:
- Sandwich panels should be cleaned in accordance with the manufacturer's recommendations to maintain their aesthetics and functionality. Use suitable cleaning agents that will not damage the surface of the panels.

Summary
The correct installation of sandwich panels is key to ensuring their long-term functionality and aesthetics. By following these steps, you can ensure that the installation goes smoothly and efficiently. Careful preparation of the substrate, precise installation, sealing and regular maintenance will help to achieve the best results and ensure the quality of the final construction.


